The Ultimate Guide to Construction Site Photography
Construction photographs are essential for documenting every stage of your project. Learn more about construction photography and how to take work site photos like a pro in this comprehensive guide.

Managing Editor
“Construction photography” has become a pretty popular phrase in the construction industry.
And no, we don’t mean glamor shots of construction workers and heavy machinery (although, we also don’t mean don’t take those).
Construction photography is an excellent modern strategy for demonstrating work, documenting projects, and promoting your brand. And more and more contractors are seeing the value of this strategy.
For example, the construction time-lapse camera market alone is worth $2.01 billion and growing fast.
But chances are, you’re a construction expert, not a photographer. So, how can you start taking your own high-quality project photos and reaping the benefits?
Well, the first thing you can do is read our comprehensive guide to construction site photography!
In this article. We’ll cover everything you need to know about taking construction photos, including:
- The importance of construction photography
- Types of construction site photos
- Essential equipment for effective work site photography
- Professional techniques for taking high-quality photos
- How to take “before” and “after” construction photos
- How to visualize progress with time-lapse photography
- Key safety considerations when taking on-site photos
- Tips for editing and sharing your construction photos
- Common mistakes to avoid in construction photography
Ready to break ground? Let’s do it.
Why Construction Site Photography Matters
Why should you take construction photos in the first place? Are they really worth investing all that time, money, and effort?
Yup!
Here are some of the things you can accomplish with quality construction photography:
- Showcase your company’s work, skills, values, and capabilities
- Engage existing and potential clients through visual content marketing
- Keep track of changes
- Identify errors and imperfections from various vantage points
- Create context for visual storytelling
- Report progress to customers
- Create a timeline of the project from start to finish
- Capture indisputable visual evidence of developments in a construction site
- Enhance project planning and safety
- Enrich your website and social media handles with brand-relevant visual content
What to Include in Construction Site Job Photos
The first thing you’ll want to be sure to include in your construction site photos is your construction site.
Just kidding! Well, that is true. But there’s more to it than that.
Construction photos can serve many different purposes. How you approach your photography should be informed by how you want to use your photos.
For example, you may want to use your pictures in marketing materials. Or, you may need to document the project’s progress for stakeholders. Although your techniques may be similar for each scenario, you’ll want to feature different aspects of your project in different ways to suit each audience.
Here are some of the common ways businesses use construction photography:
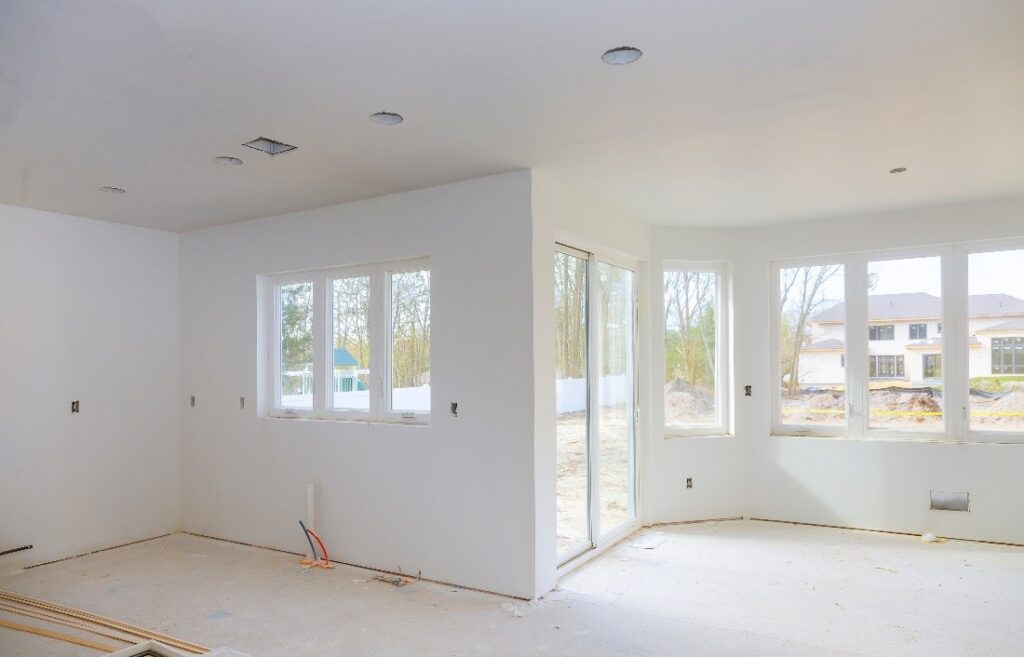
- “Before” photos: These are photos you’ll take before work starts to record the site’s original state. They should involve closeups of all areas in the scope of your project.
- Change order items: If the original project agreement undergoes revisions, you may need pictures to document them as work is executed. This ensures the updates are accurate.
- Project progress: A customer may require periodic or even daily updates. To provide this, you’ll need timely photos that catalog your project’s ongoing state.
- Areas of concern: If you hit a roadblock due to something unexpected, you should photograph this and send it to stakeholders to determine a resolution.
- Detail images: These are close-up photos focused on small details. Such images provide clear verification of inconspicuous features.
- “After” photos: Once the project is complete, you’ll want pictures of the finished result. These photos should highlight all upgrades and renovations by showing the same areas and angles as your “before” photos.

Essential Equipment for Construction Photography
The camera on your smartphone might be all you need to take great pictures of your dog or breakfast. Construction photography, however, will require a few extra gadgets.
Let’s take a look at some of the essential tools and equipment you’ll need to take high-quality construction site photos.
A Versatile Camera
The first thing you’ll need is a serious camera. Go for a professional-class, hardy, and versatile device, like the Canon EOS 5D Mark IV.
Thanks to interchangeable lenses and other useful optic features, a camera like the Canon is ideal for any photography situation.
Different Lenses for Different Perspectives
Photographers use different lenses to capture photos from various perspectives. Changing the lens on your camera changes its zoom, range, and focus capabilities. That means you’ll need only one camera to take just about any photo.
These are some of the lenses you may need in your kit:
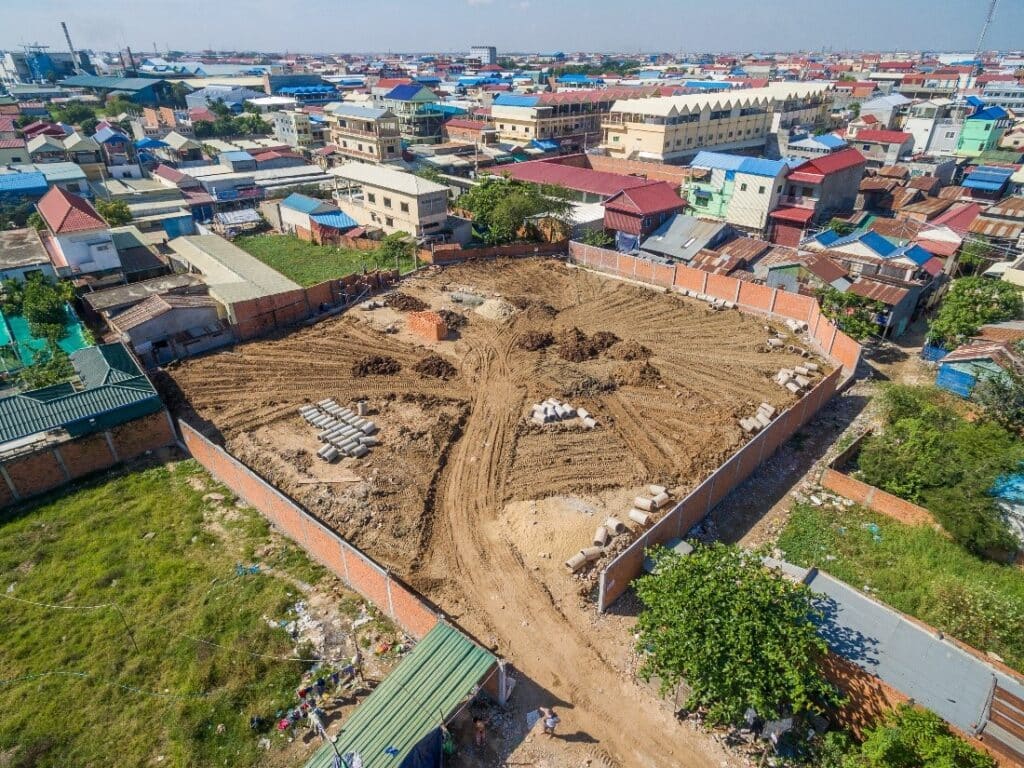
- Wide-angle lens: This is great for photographing large construction sites. Wide-angle lenses let you capture sweeping panoramic views.
- Macro lens: If you want to get detailed close-up images of small objects or features, this is the lens to use.
- Fisheye lens: Also known as a “super wide” or “ultra-wide” lens, a fisheye lens lets you capture extremely wide views. It’s particularly great for shooting vertical structures.
- Zoom lens: A zoom lens has an adjustable focus, allowing you to get up close and personal with dynamic project features.
- Prime lens: Unlike a zoom lens, a prime lens has a fixed focus, which is great for capturing time-lapse photos (more on that later).
- Tilt-shift lens: This is a fancy lens tilted to offset its position and orientation relative to the sensor. You can use this lens to change a photo’s plane of focus or depth of field.
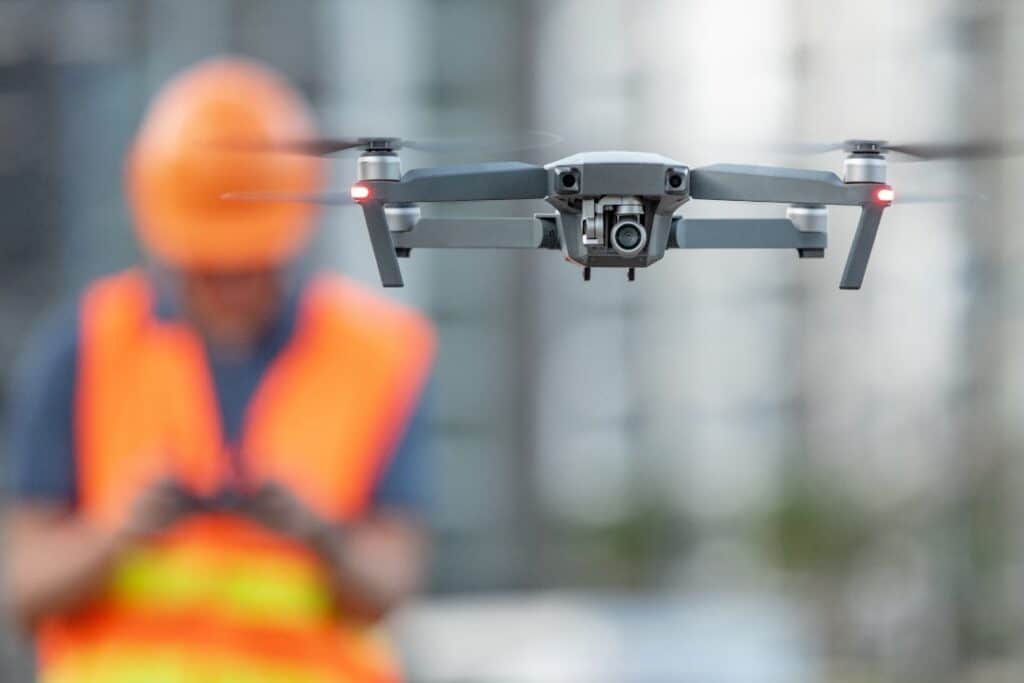
A Drone for Aerial Shots
Drone photography has really taken off—and it makes for incredible shots. Even reasonably priced camera drones like the DJI Mavic Mini can take breathtaking HD aerial photos.
A drone not only shows you what a construction site looks like to a bird but also reveals details and insights you’d otherwise miss from ground level.
A GoPro for Point-of-View (POV) Footage
A GoPro is one of the hardiest cameras you can have on a construction site. It’s a compact, lightweight, dust-proof, and shock-resistant camera the size of a bar of soap.
You can mount a GoPro on crane loads, vehicles, and hard hats to capture intriguing POV stills and film. It might also be handy for visually inspecting difficult-to-reach places.
Photo Editing Software
Raw photos sometimes need a bit of editing. You might want to retouch some areas, adjust the color intensity, or tune the brightness.
To do that, you’ll want some premium photo editing software, such as Adobe Photoshop.
Key Techniques for High-Quality Construction Photography
Photography is both an art and a science. As such, your approach should be a combination of methodical and creative.
Here are some key tips to help you strike that balance in your construction photos:
Learn the Basics
You don’t need to be a highly trained professional photographer to take good construction photographs. However, you should at least know the fundamentals of photography.
It helps to understand key concepts like:
- Focus and sharpness
- Exposure
- White balance
- Depth of field
- Shutter speed
- ISO settings
- Lighting
- Metering
Create a Shot List
Make a checklist of the areas you want to photograph. This will help ensure that you capture everything you need.
Of course, your list will depend on the photoshoot’s purpose and the nature of the work site. It may be helpful to make and save a few checklists for different uses of your photos.
Use High-Quality Gear
Obviously, if you want to take high-quality project photos, you’ll want to invest in high-quality photography equipment. This includes pieces like cameras, lenses, drones, tripods, and so on.
As a bonus, high-quality equipment can sometimes make up for any skill gaps.
Don’t be misled by price, though. While quality comes at a cost, the most expensive kit is not always the best. Go for equipment that matches your photography goals, skill level, and budget.
Take More Shots Than You Need
The more photos you take, the higher the chances that some of them will turn out great. That’s photography 101. Besides, you might miss something in the viewfinder, only to notice it later when perusing the photos.
Also, take multiple shots from different angles. You can then choose the photos that look best.
Be Creative
Photographing construction work is not always as easy as pointing a camera and clicking the shutter button.
For starters, an active construction site is a far cry from a neat photo studio. Unwanted things like smoke and dust can also get in the way of a good shot, so you really have to be creative about camera placement, timing, and perspective.

Insert Items for Scale
A 2-D image might not clearly depict the thickness of a wall, the height of a column, or the scale of a particular project. This is a common problem in close-up shots or photos taken with wide-angle or macro lenses.
To circumvent this, insert familiar objects like a shovel, car, or worker into the shot as scale references.
Remove Clutter and Distractions
It’s one thing to focus your camera, and it’s another to focus the viewer.
Declutter the scene to ensure the viewer sees what you want them to see. You can physically remove the distractions or simply keep them out of focus.
Avoid Excessive Zooming
Zoom lenses are great for getting up close from a distance. However, zooming past a certain threshold (depending on the lens’s capabilities) compromises the image’s clarity and sharpness.
Whenever possible, skip the zoom and get closer to the scene physically.
Go Easy on the Editing
Image editors are invaluable tools in photography. And now, with AI-powered capabilities, the only limit is your imagination.
It’s easy to get carried away by all the features you can add or remove from a photo by merely clicking a button. However, heavy editing can make a photo lose its realism and authenticity.
Edit only where necessary, such as to cover up small blunders, lighting artifacts, and blemishes.
How to Capture Before and After Photos of a Construction Job
We’ve all seen those flashy “before” and “after” photos of a redecorated room or a house someone flipped. They’re pretty standard in the aesthetics and home services industries.
And they can come in handy for your construction projects, too.
To the viewer, “before” and “after” photos communicate one important thing—progress. To a construction business, they’re crucial for other reasons, too, including:
- Showcasing work site transformation: Before-and-after photos clearly show how your work site has transformed over time. In fact, you can use them as part of construction photo documentation to mark key project milestones.
- Providing proof of work completion: It’s easy to see how before-and-after photos show evidence of work completion. This promotes client satisfaction and protects your company in case of a contractual dispute.
- Enriching marketing content: Before-and-after photos can be used as powerful marketing content. You can use them to enhance your case studies and portfolio. They build social proof around your business while demonstrating your contracting prowess.
Tips for Effective Before and After Photos
Here are some practical tips for taking effective before-and-after shots:
- Set the frame. Frame the photos to highlight major changes. This could mean zooming in to capture localized changes or zooming far out to reveal large-scale progress.
- Be consistent. Take the “after” picture from the same angle and under the same lighting as the “before” photo.
- Choose your moment. Decide the right time to take the photos so there are significant differences between them. It could be before and after a major task or milestone.
- Stay organized. Label, date, and describe your “before” and “after” shots clearly.
- Present the before-and-after effect. In addition to polishing the images, try some clever editing tricks to convey progress. For instance, use transitions or animations to emphasize the differences between the two photos more clearly (you can even find apps for this on your phone!).
Time-Lapse Photography for Large Construction Projects
Time-lapse photography (TLP) is a technique for capturing movement, changes, and progress over time.
The way it works is pretty simple. You start by taking a series of worksite photos at regular intervals. Then, you stitch those photos together in sequence to make a brief video.
TLP provides a way to visualize a construction project from start to finish. It sits between videos and photos as a form of visual record.
You simply can’t use video to capture an entire construction project. Photos, on the other hand, are basically static snapshots of events. Time-lapse photography is essentially a convenient compromise between the two mediums.
Let’s look at some of the ways you can use TLP.
- Immortalize your work in visual records of large construction projects
- Showcase the immense scale of a construction project and the work that went into it
- Generate captivating and engaging web and social media content
- Monitor on-site progress
- Create training material for company interns and new hires
How to Set Up a Time-Lapse Camera on a Job Site
Time-lapse photography requires precision, consistency, and, most of all, patience.
Remember—we’re talking about a photography endeavor that runs the entire length of your construction project. All it takes is a single shot to ruin the whole sequence (no pressure).
But if you get it right, it’s well worth the time and effort.
Here’s a basic step-by-step process you can follow to take time-lapse photos on your construction site successfully:
1. Set Your Time-Lapse Goals
What sort of time-lapse video do you want? And how many?
It doesn’t have to be just one time-lapse video, especially on a large work site where many things happen simultaneously. Decide on the movements, areas, or progress you want to capture. Also, consider what’s relevant to your audience and brand.
2. Choose a Frame
This is a big decision. The frame you choose will determine the camera placement and the scope of the final video. And you’ll have to stick to that frame throughout the shot for consistency.
Also, don’t forget to consider how the site will change over time. For instance, some features might move out of frame as work progresses or become obscured.
3. Decide on the Interval
The time gap between two consecutive shots will depend on the project’s pace and scale.
For small projects lasting a couple of weeks, you may need to take a few photos daily. However, for large projects spanning several months, taking photos that often probably won’t be feasible or particularly useful.
Keep in mind that your photography interval doesn’t have to be consistent. You can take more photos when the site goes through many changes and fewer when there’s barely anything going on.
4. Get the Right Equipment
Depending on your TLP goals and work site, you may need specialized time-lapse gear such as:
- Specialized time-lapse camera
- Camera clamps
- Motion control devices
- Camera remote
- Tripod stands
- Enclosures (for fixed cameras)
- Stabilizers
- Camera positioning devices
5. Snap Away
Once everything is set up and ready, you can start taking your time-lapse photos.
This part calls for discipline. Make sure you’re there to click the shutter button, whether it’s one picture every few hours, every day, or every week.
6. Put Everything Together
After taking the last shot, it’s time to stitch all the photos together.
Any media editing software with stop-motion features will help you do this. Some good examples include Adobe Premiere, Microsoft Hyperlapse, and LRTimelapse.
Best Practices for Safety During Photography
As you well know, construction sites are dangerous places. Heavy machinery, dust, debris, and smoke don’t make for the best environment for delicate photography equipment.
With that in mind, you must put up adequate safety measures to protect not only the cameras but the photographer as well. Here are some of the ways you can do just that:
- Protect sensitive gear with dust and weatherproof covers or enclosures.
- Clean the equipment regularly to prevent dust and debris from building up in lenses and moving parts.
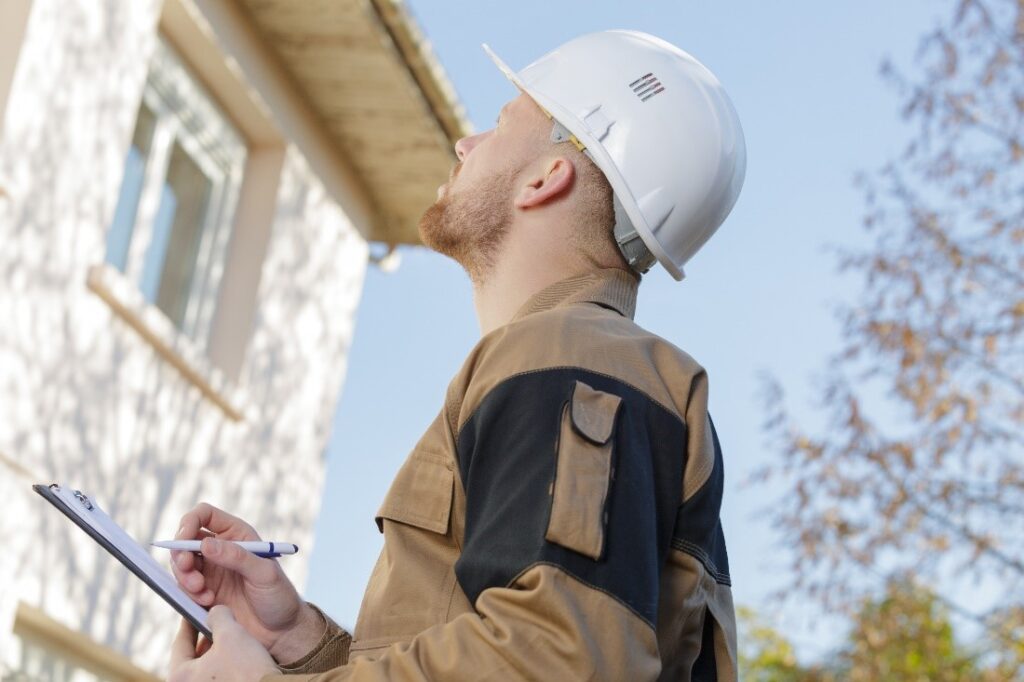
- Wear a Hi-Vis jacket and hard hat when taking on-site photos.
- Let the crew know where and when you’re taking photos.
- Pay close attention to your surroundings when manning a camera.
- Avoid walking backward or fixating on the viewfinder.
- Try not to get in the way of workers just to take a picture.
- Avoid unnecessary risk by taking some of the pictures during off-hours.
Tips for Editing and Sharing Your Construction Photos
Editing is a big part of photography. If done right, editing enhances the images, making them look professional and more appealing.
You can do the same for your project photos.
Here are some helpful job site photography tips for editing your construction photos:
1. Develop an Editing Style
Choose an editing approach and stick with it.
You can edit just about anything on any photo, so it’s important to set some ground rules for what must be done. The goal here is to maintain consistency across all your construction photos.
2. Choose an Easy-to-Use Editing Tool
There are countless image editing tools out there. Although they serve the same purpose, they’re all different in some way. Just focus on choosing an editing platform that’s intuitive and easy to use.
And remember—you don’t have to spend a fortune on professional-level tools. Even good-value photo editors like Pixlr or Affinity Photo will do.
3. Take Advantage of ‘Auto’ Settings
Thankfully for us amateurs, most photo editors and cameras have an “Auto” button.
This magical “Auto” setting can take care of most editing features for you, including color saturation, brightness, contrast, and white balance. Taking advantage of this can save you a lot of painstaking work.
4. Bring the Colors to Life
Whatever your editing approach, be sure to enhance each photo’s color qualities.
Adjust the hues, saturation, and luminance of the various spectrums to bring out the vibrance and contrast in color. In other words, get the images to “pop.”
5. Remove Clutter and Blemishes
Everybody could use a little touch-up sometimes, including your construction site.
Take the time to edit out any blemishes and clutter that take away from the image. Remember—cleaning up a photo helps the viewer focus on the important details.
6. Keep It Simple
It’s important enough to say again—don’t go wild with the edits. Keep them simple, clean, and civil.
This isn’t the time for a sepia overlay. Don’t use ostentatious filters, visual effects, or blends. The viewer should be oblivious to any edits.
7. Outsource Editing
Editing photos takes time and skill. If you’re not up to it, you can always outsource the task to professionals.
Common Mistakes to Avoid in Construction Photography
Even the best photographers sometimes make mistakes. In construction photography, however, the smallest blunder could mean a lost opportunity, safety incident, or monetary loss.
Let’s go over common mistakes to avoid when photographing construction work:
- Ignoring lighting
- Tilting the camera too far and distorting the frame’s perception
- Using incorrect camera settings
- Always shooting at eye level
- Excessive editing
- Setting up the camera too far away
- Poor photoshoot planning
- Lacking visual variety
- Shooting while the work site is too busy
- Taking pictures that focus on the wrong details
- Making one image do too much
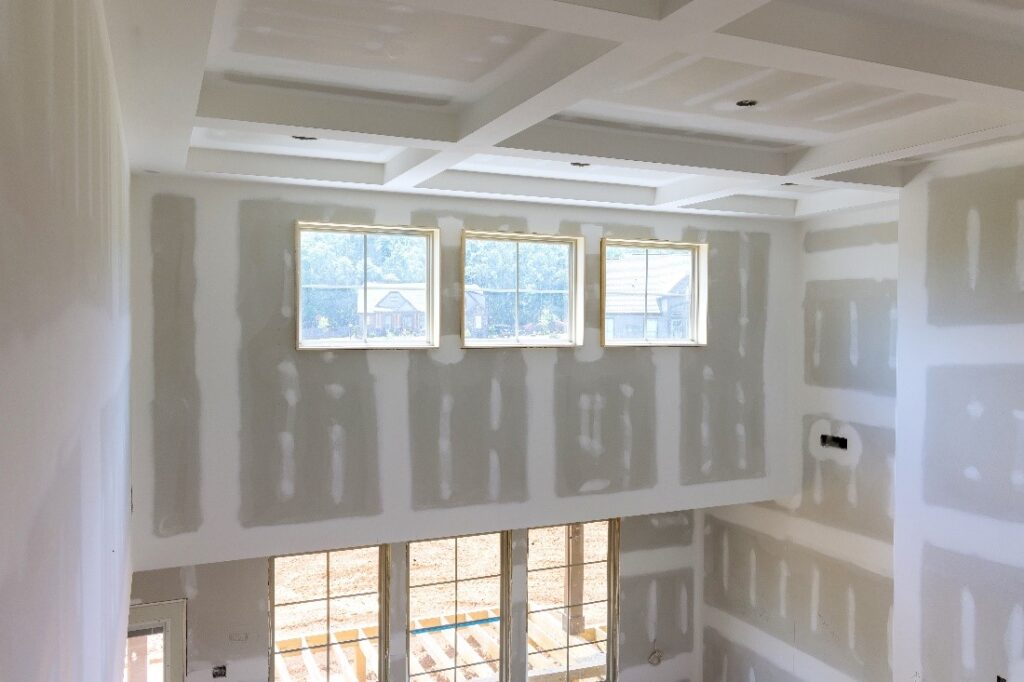
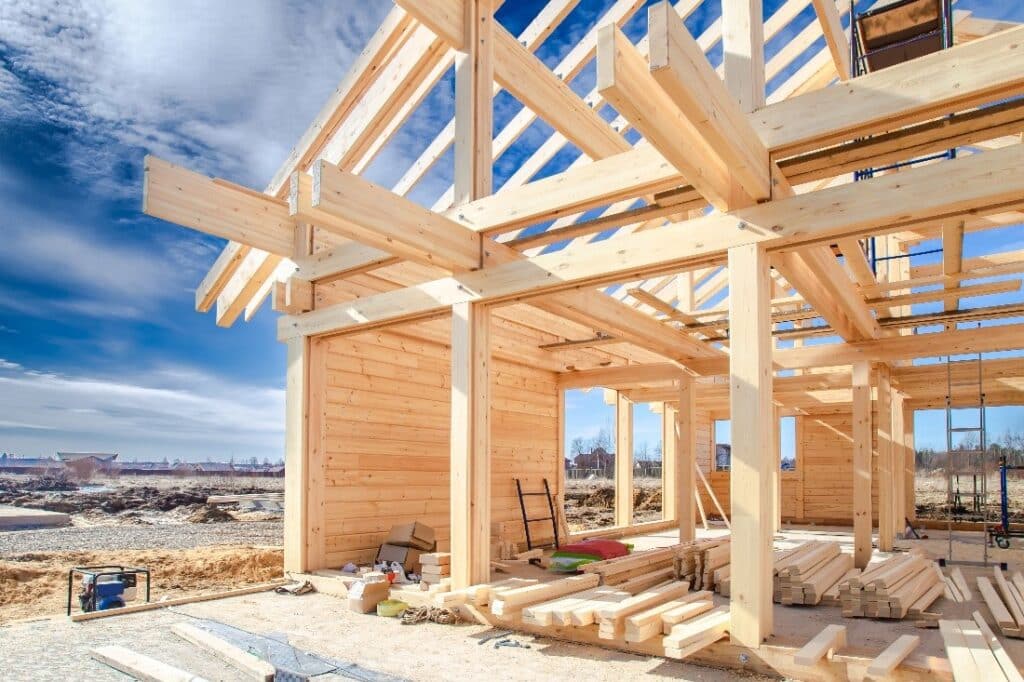
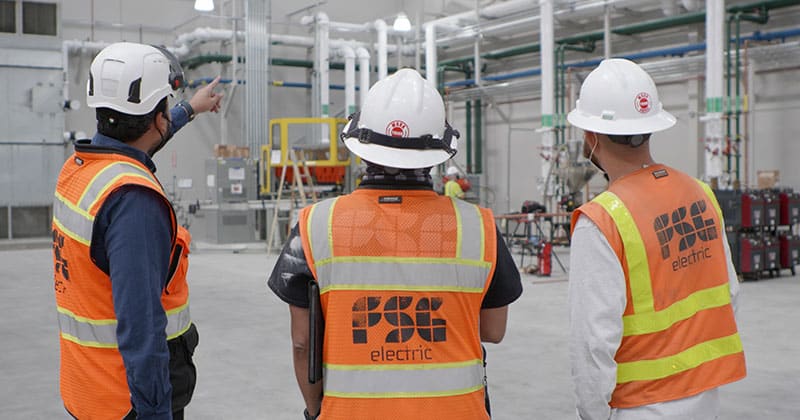
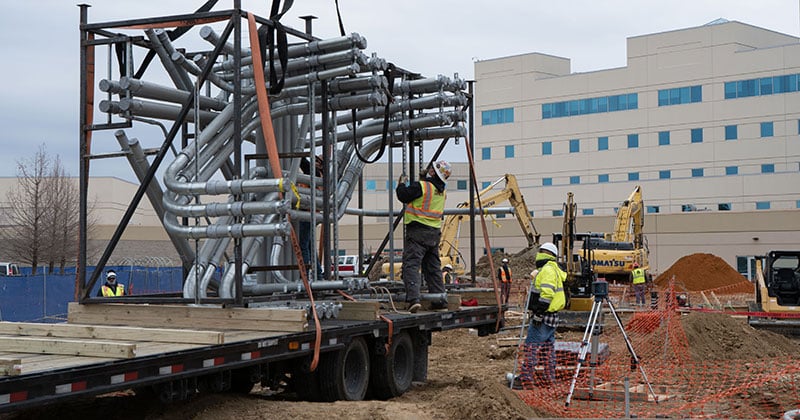
Inspiring Examples of Construction Photography
To help you get inspired, here are some examples of great construction site photography!

How to Start Taking Great Construction Photography Right Now
-
Research and acquire the right gear. Just like in construction, you need the right tools to do a quality job. Your equipment doesn’t have to be expensive—just handy and capable enough for the task.
-
Make a plan. Always plan out your shoots before snapping any photos. Start with a clear vision of the pictures you want to take, where, how, why, and when.
-
Take pictures your audience wants to see. Don’t forget who you’re taking the pictures for and the message you hope to convey.
-
Explore image editing software. Choose a photo editing platform that meets your needs in terms of useability, skill level, and functionality.
-
Be organized. Treat construction photos like the important work documents they are. Secure and organize them neatly for easy sorting, editing, retrieval, and presentation.
Melissa can masterfully bring to life any form of content, whether it’s a landing page or a guide to befriending gnomes. When she’s not crafting stories, she’s either crocheting, smothering her cats in unwelcome affection, or spending time with her husband.

Business Solutions For Field Service Pros
EverPro offers specialized solutions designed for home and field service professionals. We’ve got the business tools to help you get the job done.